
Hello! I’m HAYAO, a programmer at HazeDenki Inc.
If you’d like, please follow me on Twitter(X)as well.
I’m continuing this blog series based on the topics I outlined earlier.
You can jump to the previous entries here:
- Building the foundation for a visual novel: where to start?
- Choosing a Visual Novel engine — Utage vs Naninovel
- Setting up the development environment
- Customizing the VN engine with AI
- Several deep dives into Naninovel features
This time, I’m writing about 3) setting up the development environment.
Once you decide “We’re making a VN with Naninovel!”, I recommend pushing all the way through this setup on the same day. Environment setup can be the hardest place to pick up again once you’ve lost momentum.
Naninovel has quite a few moving parts, so let’s power through it together. I’m writing this hoping it will help.
This post is organized into five sections:
- Purchasing Naninovel
- Preparing to obtain the latest Naninovel build
- Creating the Unity project
- Installing Naninovel
- Installing the VS Code extension
I was planning to include the AI-integration workflow in this post, but the Naninovel setup alone turned out pretty long—so I’m splitting that into the next article. Sorry!
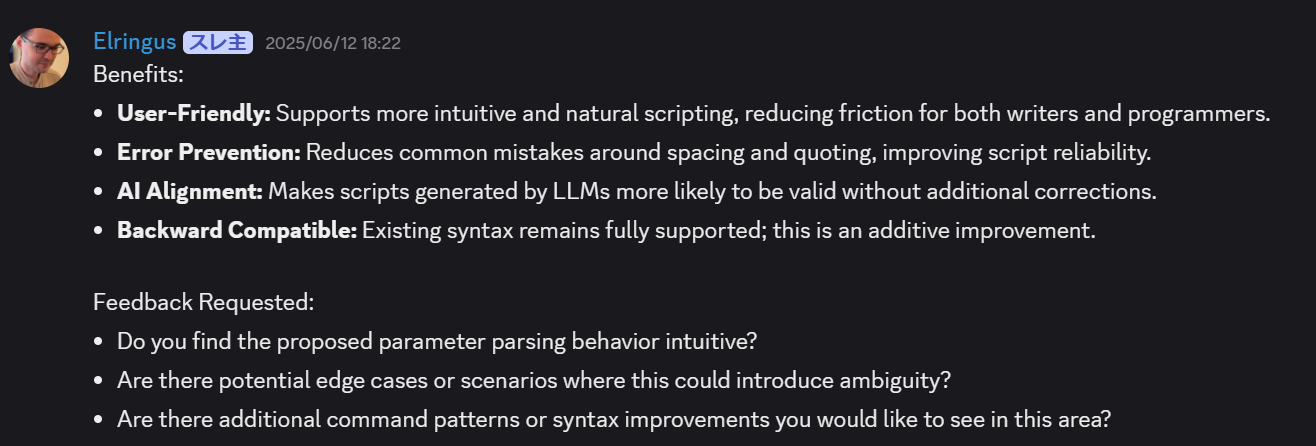
If you’re going to tinker with Naninovel, AI integration is a must. Beyond what I wrote last time, the Naninovel developer has even adjusted the engine’s syntax with LLM-assisted coding in mind.
We should absolutely take advantage of this.
From installing Naninovel to enabling it
There’s an official manual for installation with the steps listed below. Still, I imagine some folks will find it confusing, so I’ll walk through the process in detail here.

I originally followed a certain blog post to get started.
The step-by-step guide was super thorough and really helped.
However, it’s outdated:
"Discord” authentication is no longer used, and the way you install the core Naninovel package has changed—so it helps only up to a point, and it’s Japanese-only.
Below I’ll explain the current installation method.
I’ll share my own setup steps in order:
1.Purchase Naninovel
Buy it on the Unity Asset Store. However, avoid installing directly into Unity from the Asset Store.
2.Prepare to get the latest Naninovel build
The Asset Store version is not the latest.
Naninovel provides:
- Preview (experimental)
- Stable (recommended)
- Final (older versions)
If you want the latest bug fixes and features, the only way is to download from GitHub.
I recommend obtaining the software via GitHub.
Asset Store builds tend to be old, and it’s uncertain whether forum-reported bugs are fixed.
In my case, my own bug reports were fixed in near real time, so being set up to track and pull updates from GitHub was essential.
If you already purchased, To install the latest version, go to the Register page via the link below.
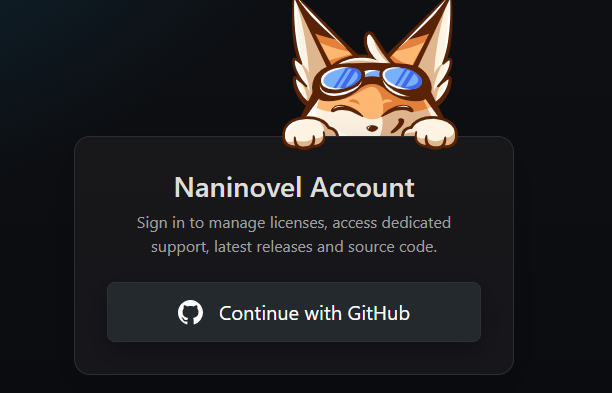
You’ll be asked to connect your GitHub account, so make sure you have one ready.
After linking GitHub, you’ll see the license registration screen.
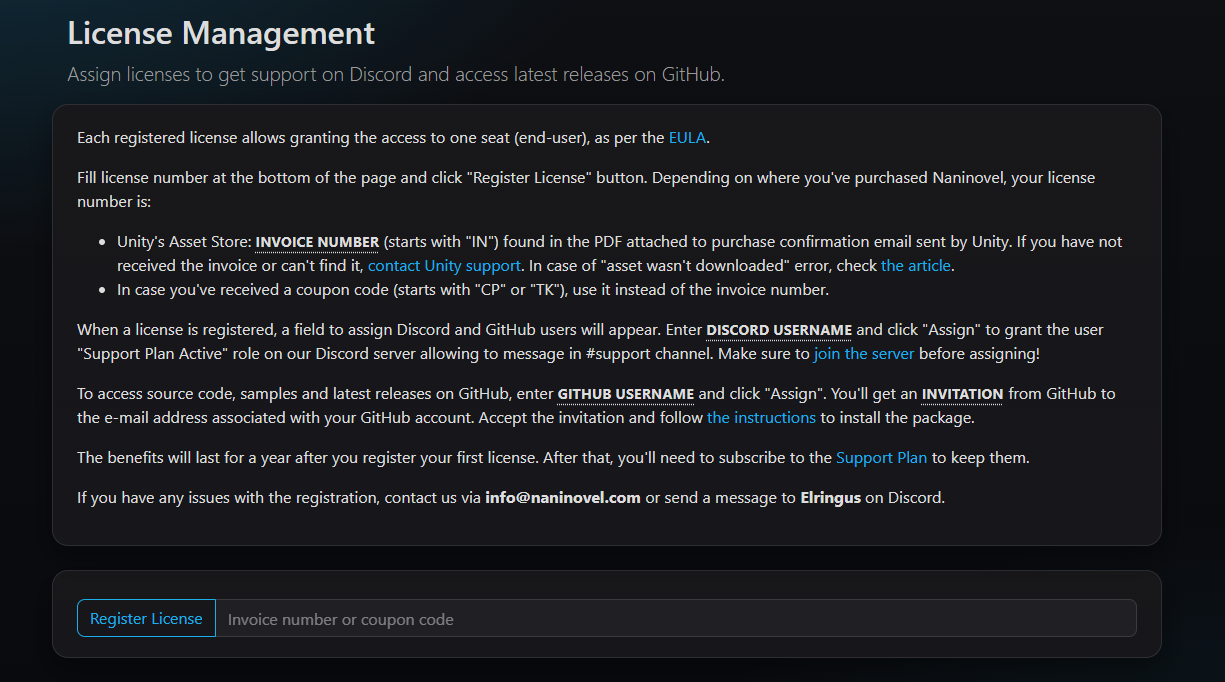
Your license is in your Unity Asset Store order history. Invoice Number is License Key.
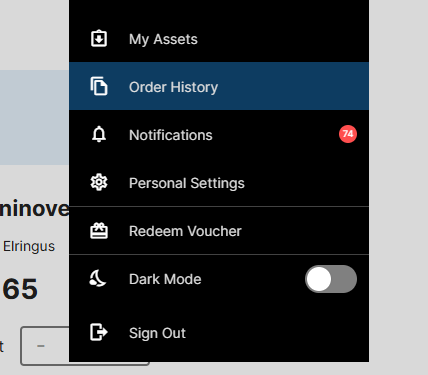
Open the order history and enter the Naninovel Invoice Number (format IN0000000...).
Once registration completes, you’ll land on the License Management screen.
Go ahead and also register your Discord account there. After adding Discord, press Show details to expand; you should see further instructions.
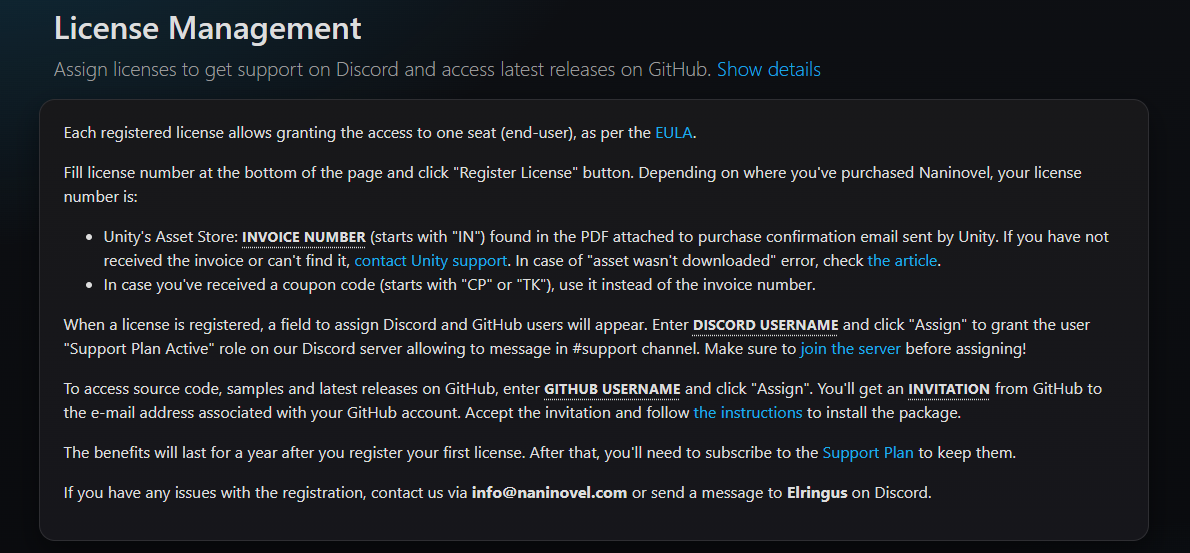
From that screen, press Join the Server to enter the official Discord.
When you run into issues, the #support channel will be invaluable.
With that, you’re ready to access the latest Naninovel.
3.Create your Unity project
Create the project where you’ll install Naninovel.
Use the latest version of Unity 6. (So far, I’ve had no issues using the latest.)
A common sticking point is whether to choose Universal 2D (URP) or 2D (Built-in Render Pipeline).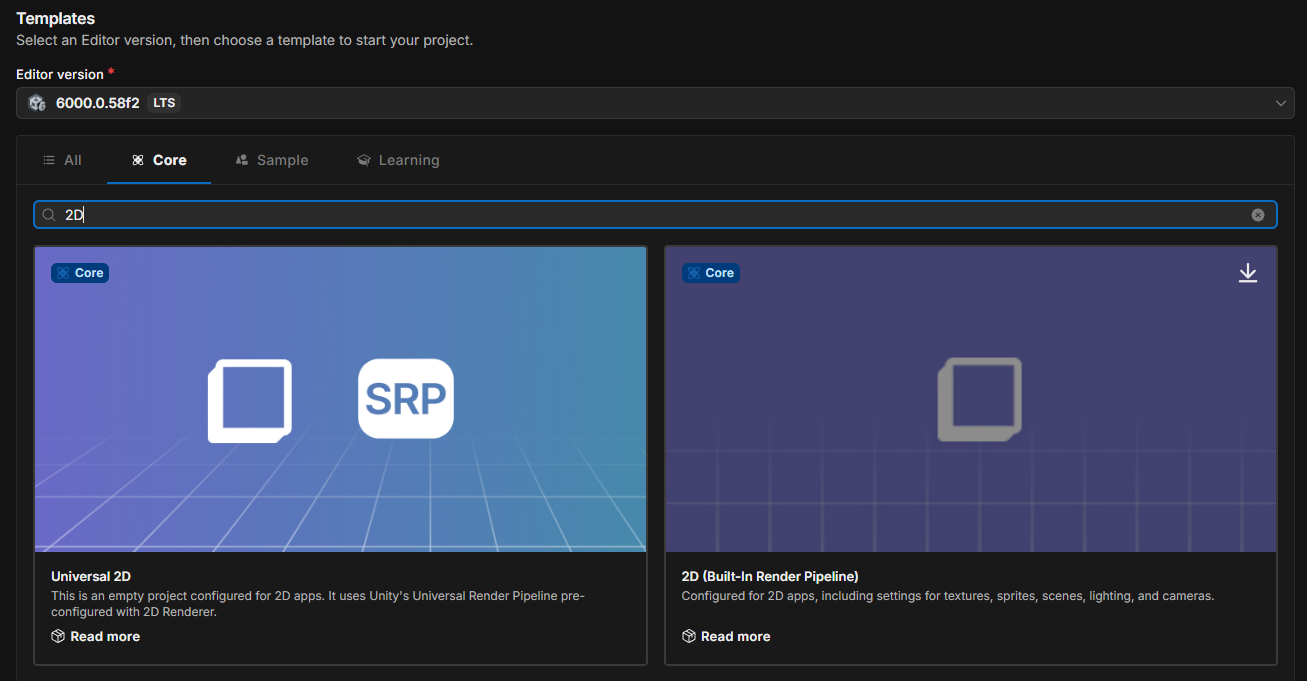
Naninovel recommends Built-in.
I personally want shader effects and post-processing in my VN, so I’m developing with URP / Universal 2D.
So far, I’ve had no problems with URP.
If you don’t plan to write custom shaders or post-processing, the officially recommended Built-in pipeline is perfectly fine.
Once you decide, follow the prompts to create the project.
4.Install Naninovel
At this point you can install Naninovel via Unity Package Manager using a Git URL.
As the manual notes, it helps to install GitHub for Desktop in advance and sign in.
That way, when you install a package from a Git URL in Unity, the account authentication for downloads goes smoothly.
In the Package Manager, Install package from git URL is available from the “+” button at the top left of the window.
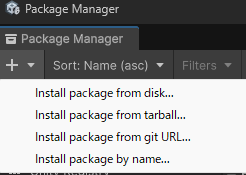
Copy the URL from the Releases page and paste it. Use the UPM entry. The Stable version is considered the safest.

If you’re comfortable with GitHub, you can also visit the repository with your authenticated account and clone the upm branch directly. It’s convenient for checking the engine’s commit history and diffs from your current version.
↓GitHub Page

If you’ve made it this far, Naninovel should now be properly installed in your project.
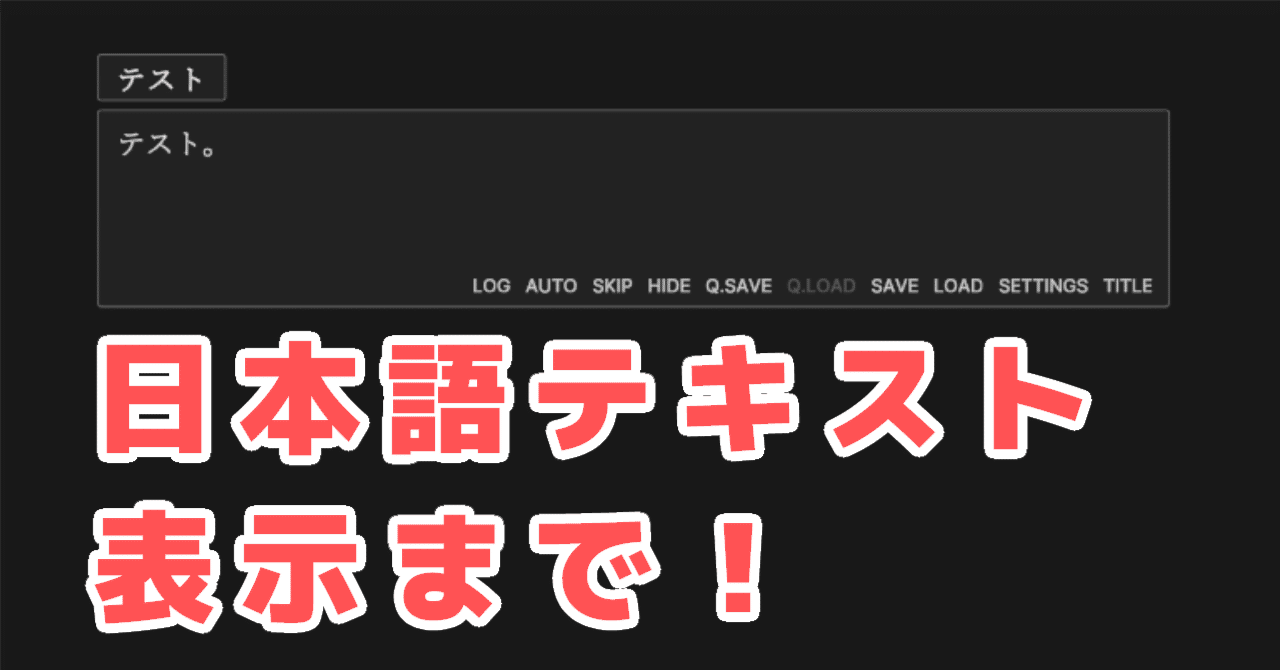
5.Installing the VS Code extension
As mentioned previously, Naninovel provides an IDE extension. Installing VS Code plus the extension makes scenario authoring much smoother.
First, install the editor (Visual Studio Code).

Then launch VS Code, click the Extensions icon on the left sidebar, search “Naninovel”, and install the extension.
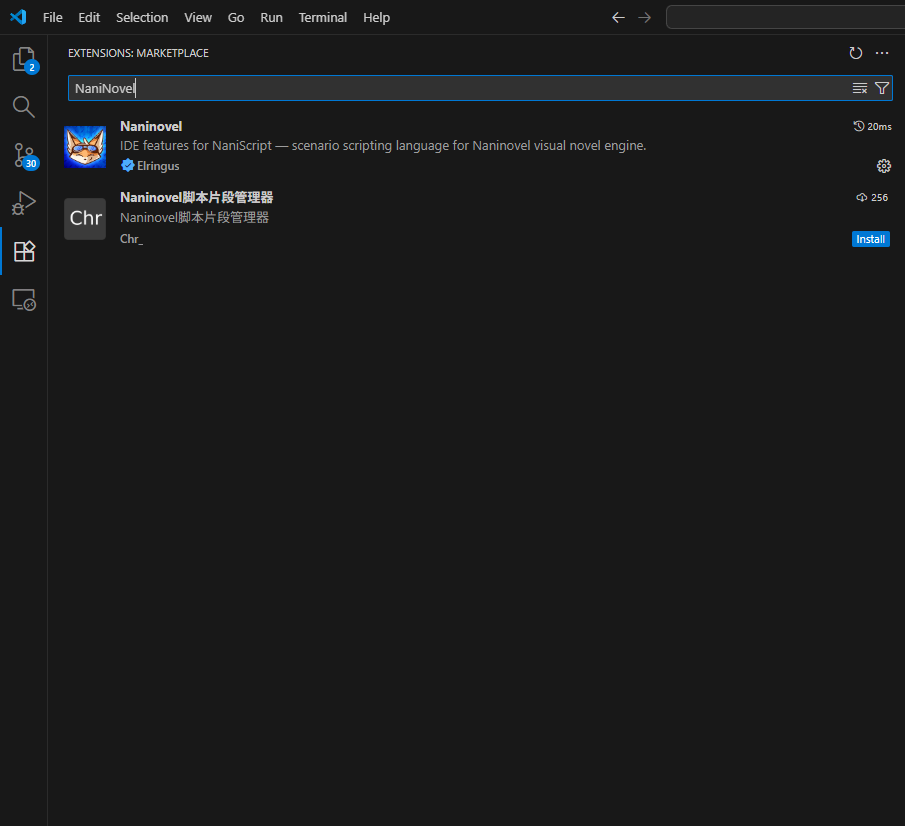
With that, your development environment is ready.
Take a breather—sketch your design, or outline the features you want to implement.
Naninovel will be ready whenever you are!
If you hit issues anywhere along the way, please leave a comment describing where the problem occurred. I’ll update this post accordingly.
I also wanted to cover AI integration, but I’ll stop here for today.
In the next post, I’ll show how to load the Naninovel engine into Claude, set it up as an assistant, and co-develop with it.
Thanks for reading.
See you next time—and thanks for supporting HazeDenki!
Comments (1)
Leave a comment